
For coaches & admins
Setting up your community — from blank to branded in an afternoon
Everything an owner touches lives in one place: the Admin console (the shield in your nav).
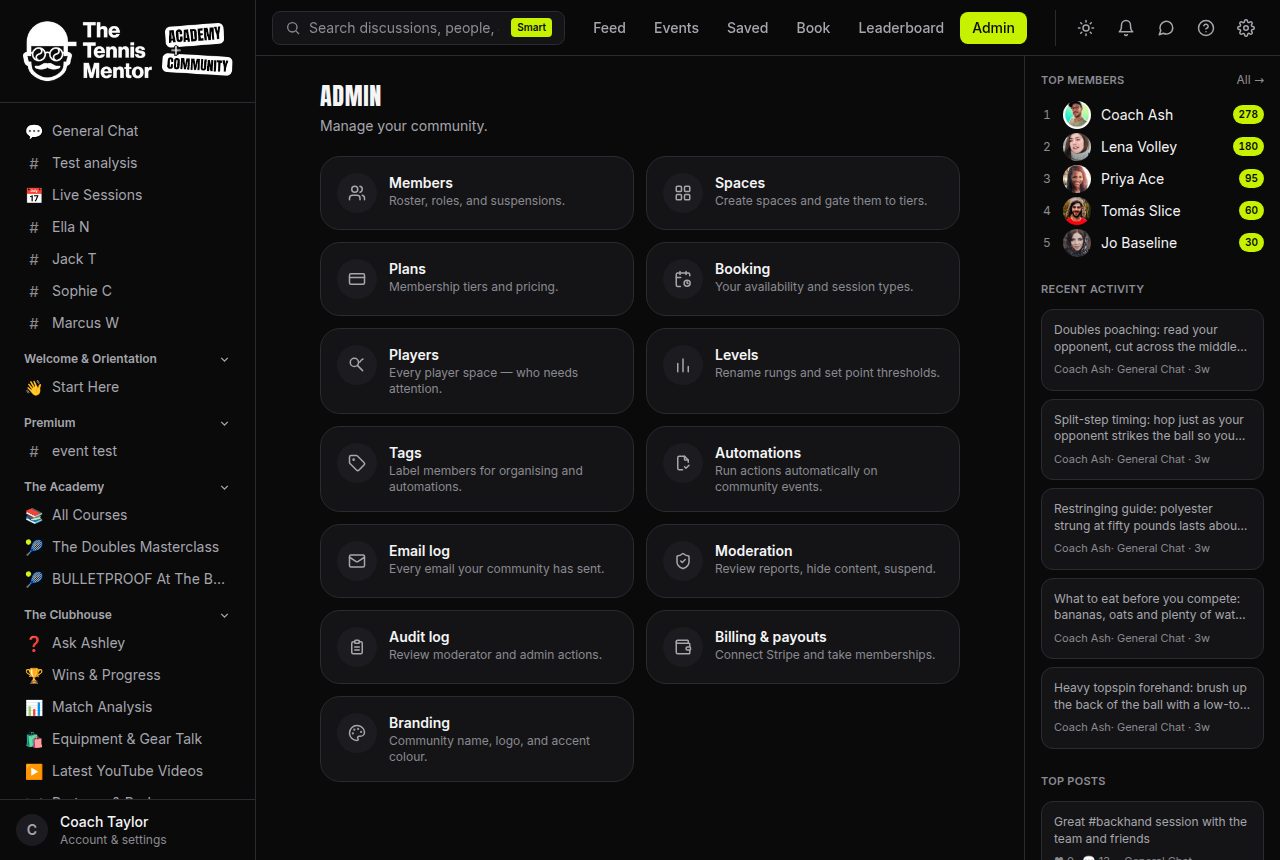
1. Make it yours — branding
Admin → Branding carries every visual option:
- Community name — appears in the header, on emails, everywhere.
- Accent colour — one pick recolours buttons, highlights and badges across the whole app.
- Logo — plus a separate light-mode variant so it looks right on both themes.
- Favicon — the browser-tab icon your members see all day.
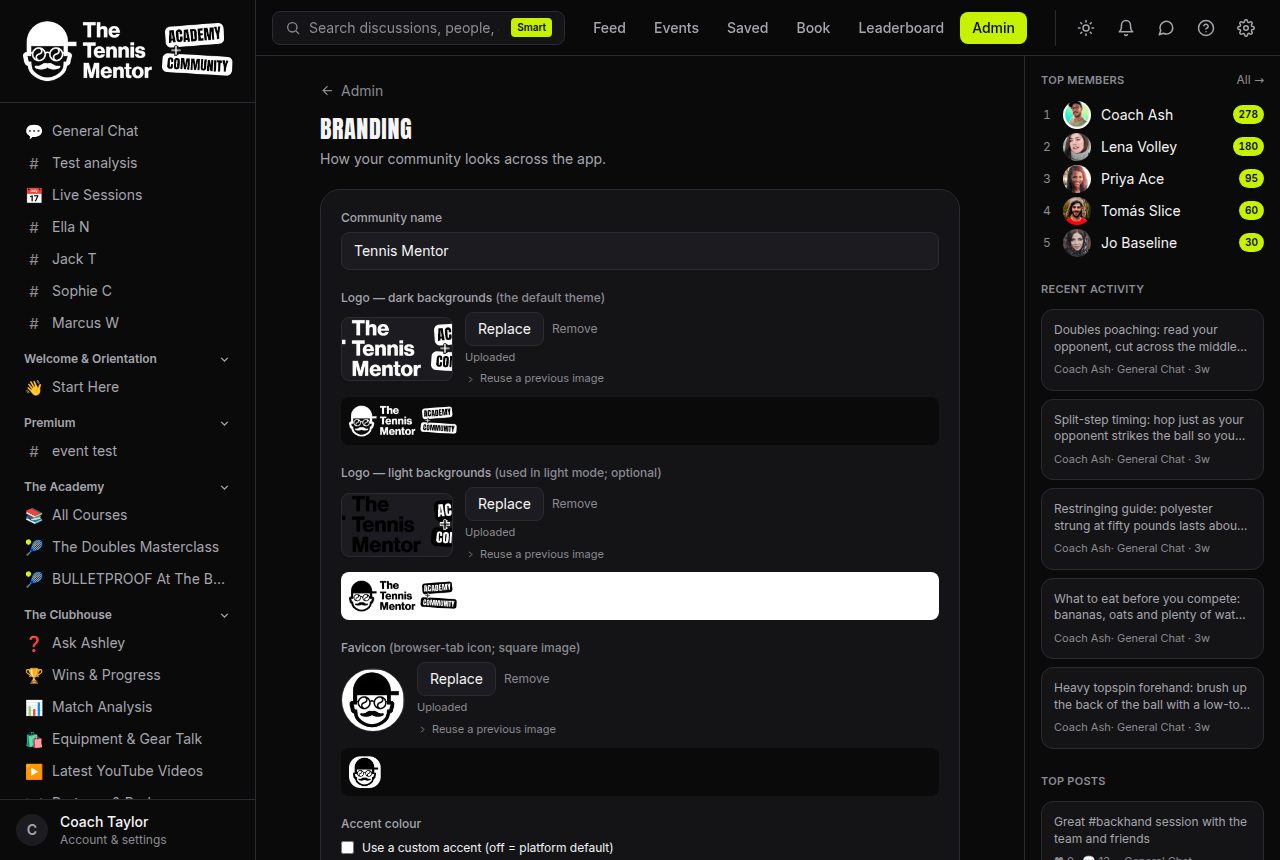
Changes apply instantly to every member. Emails the platform sends pick up your community name as the sender automatically.
2. Build the rooms — spaces
Admin → Spaces: create discussion spaces, a course, an events space, a resource library — and player-development spaces for your students. Group them, reorder by drag, gate any of them to a membership tier.
3. Set the offer — plans
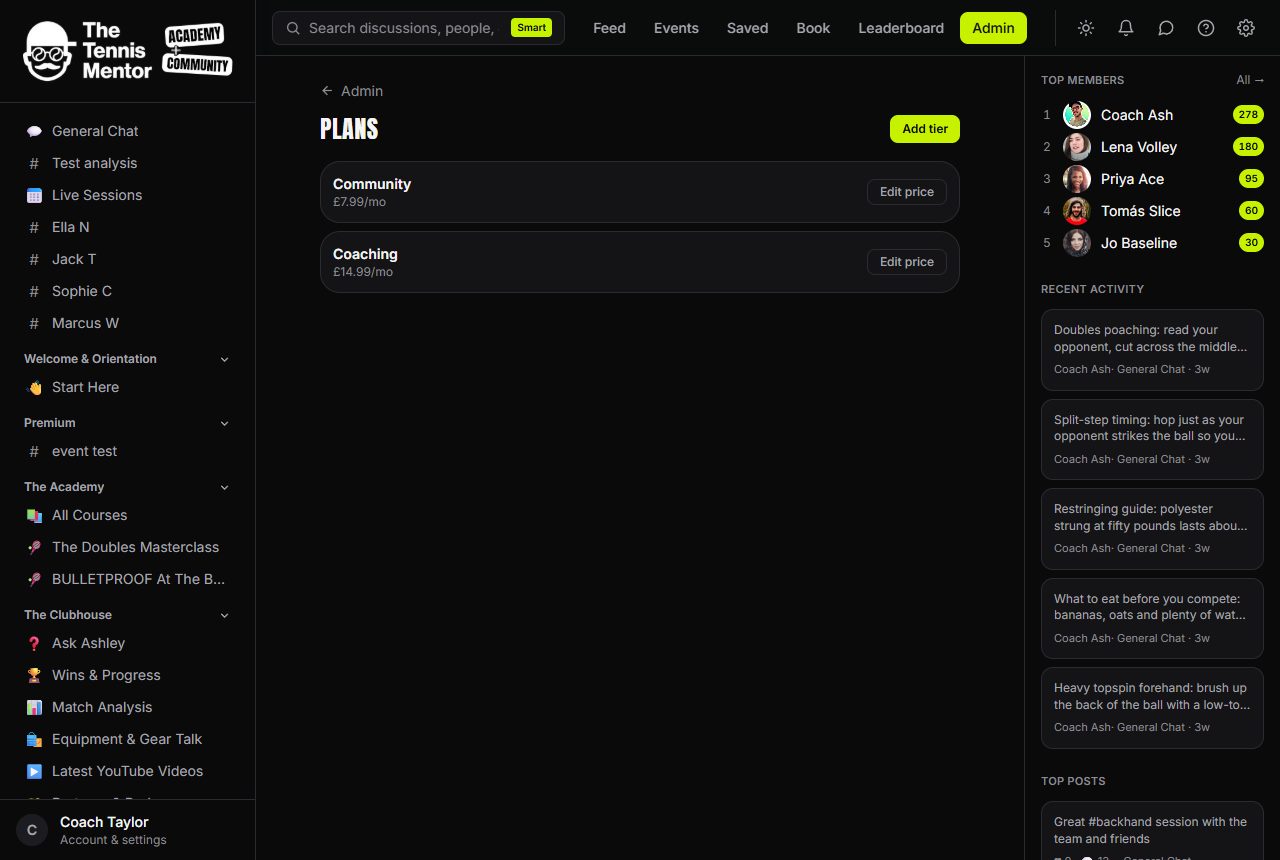
Admin → Plans defines your membership tiers; connect Stripe once and checkout, billing portal and paywalls all work from that moment.
4. Open the doors
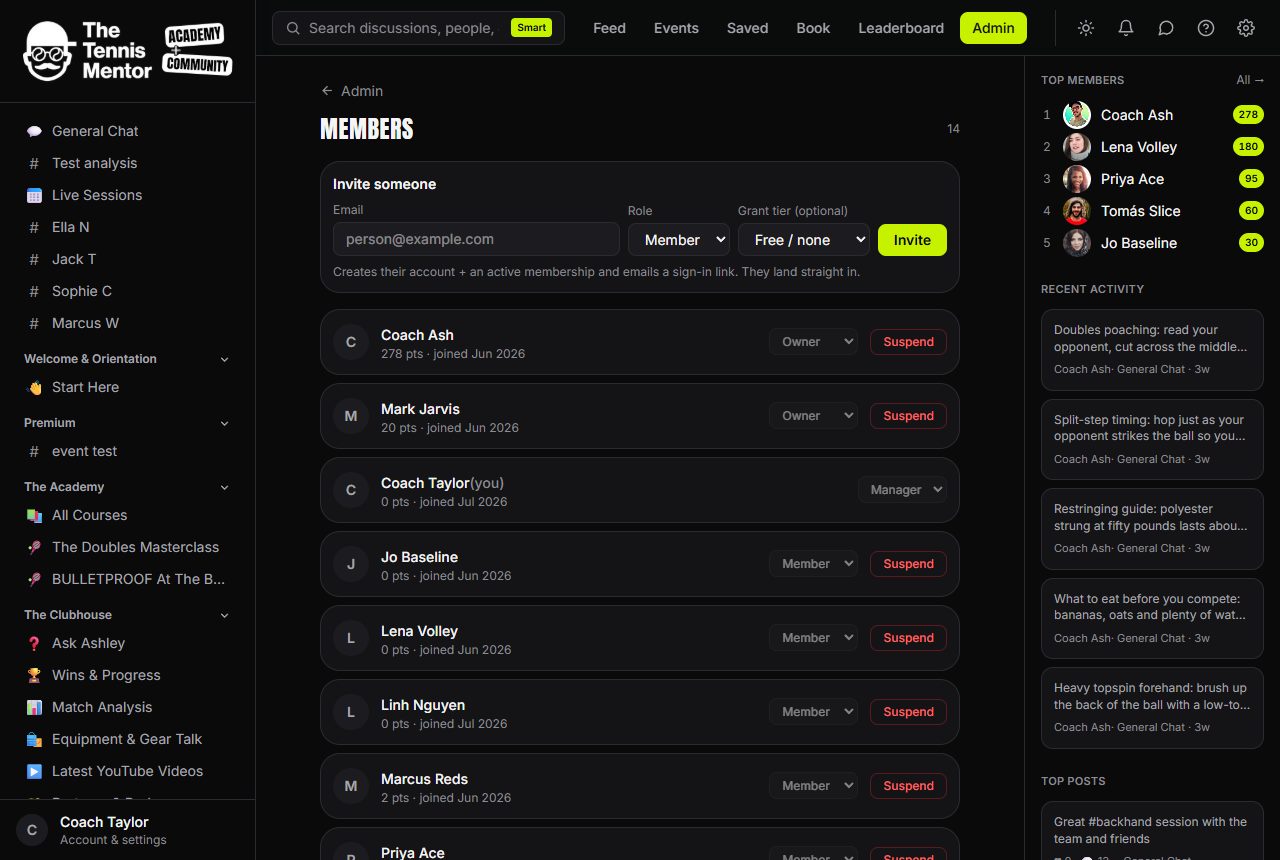
Invite members by email, or share your sign-up link — new joiners get a friendly first-day checklist, and the member joined automation trigger (next guide) can welcome them for you.
That's the whole path. Most owners are live the same afternoon.